


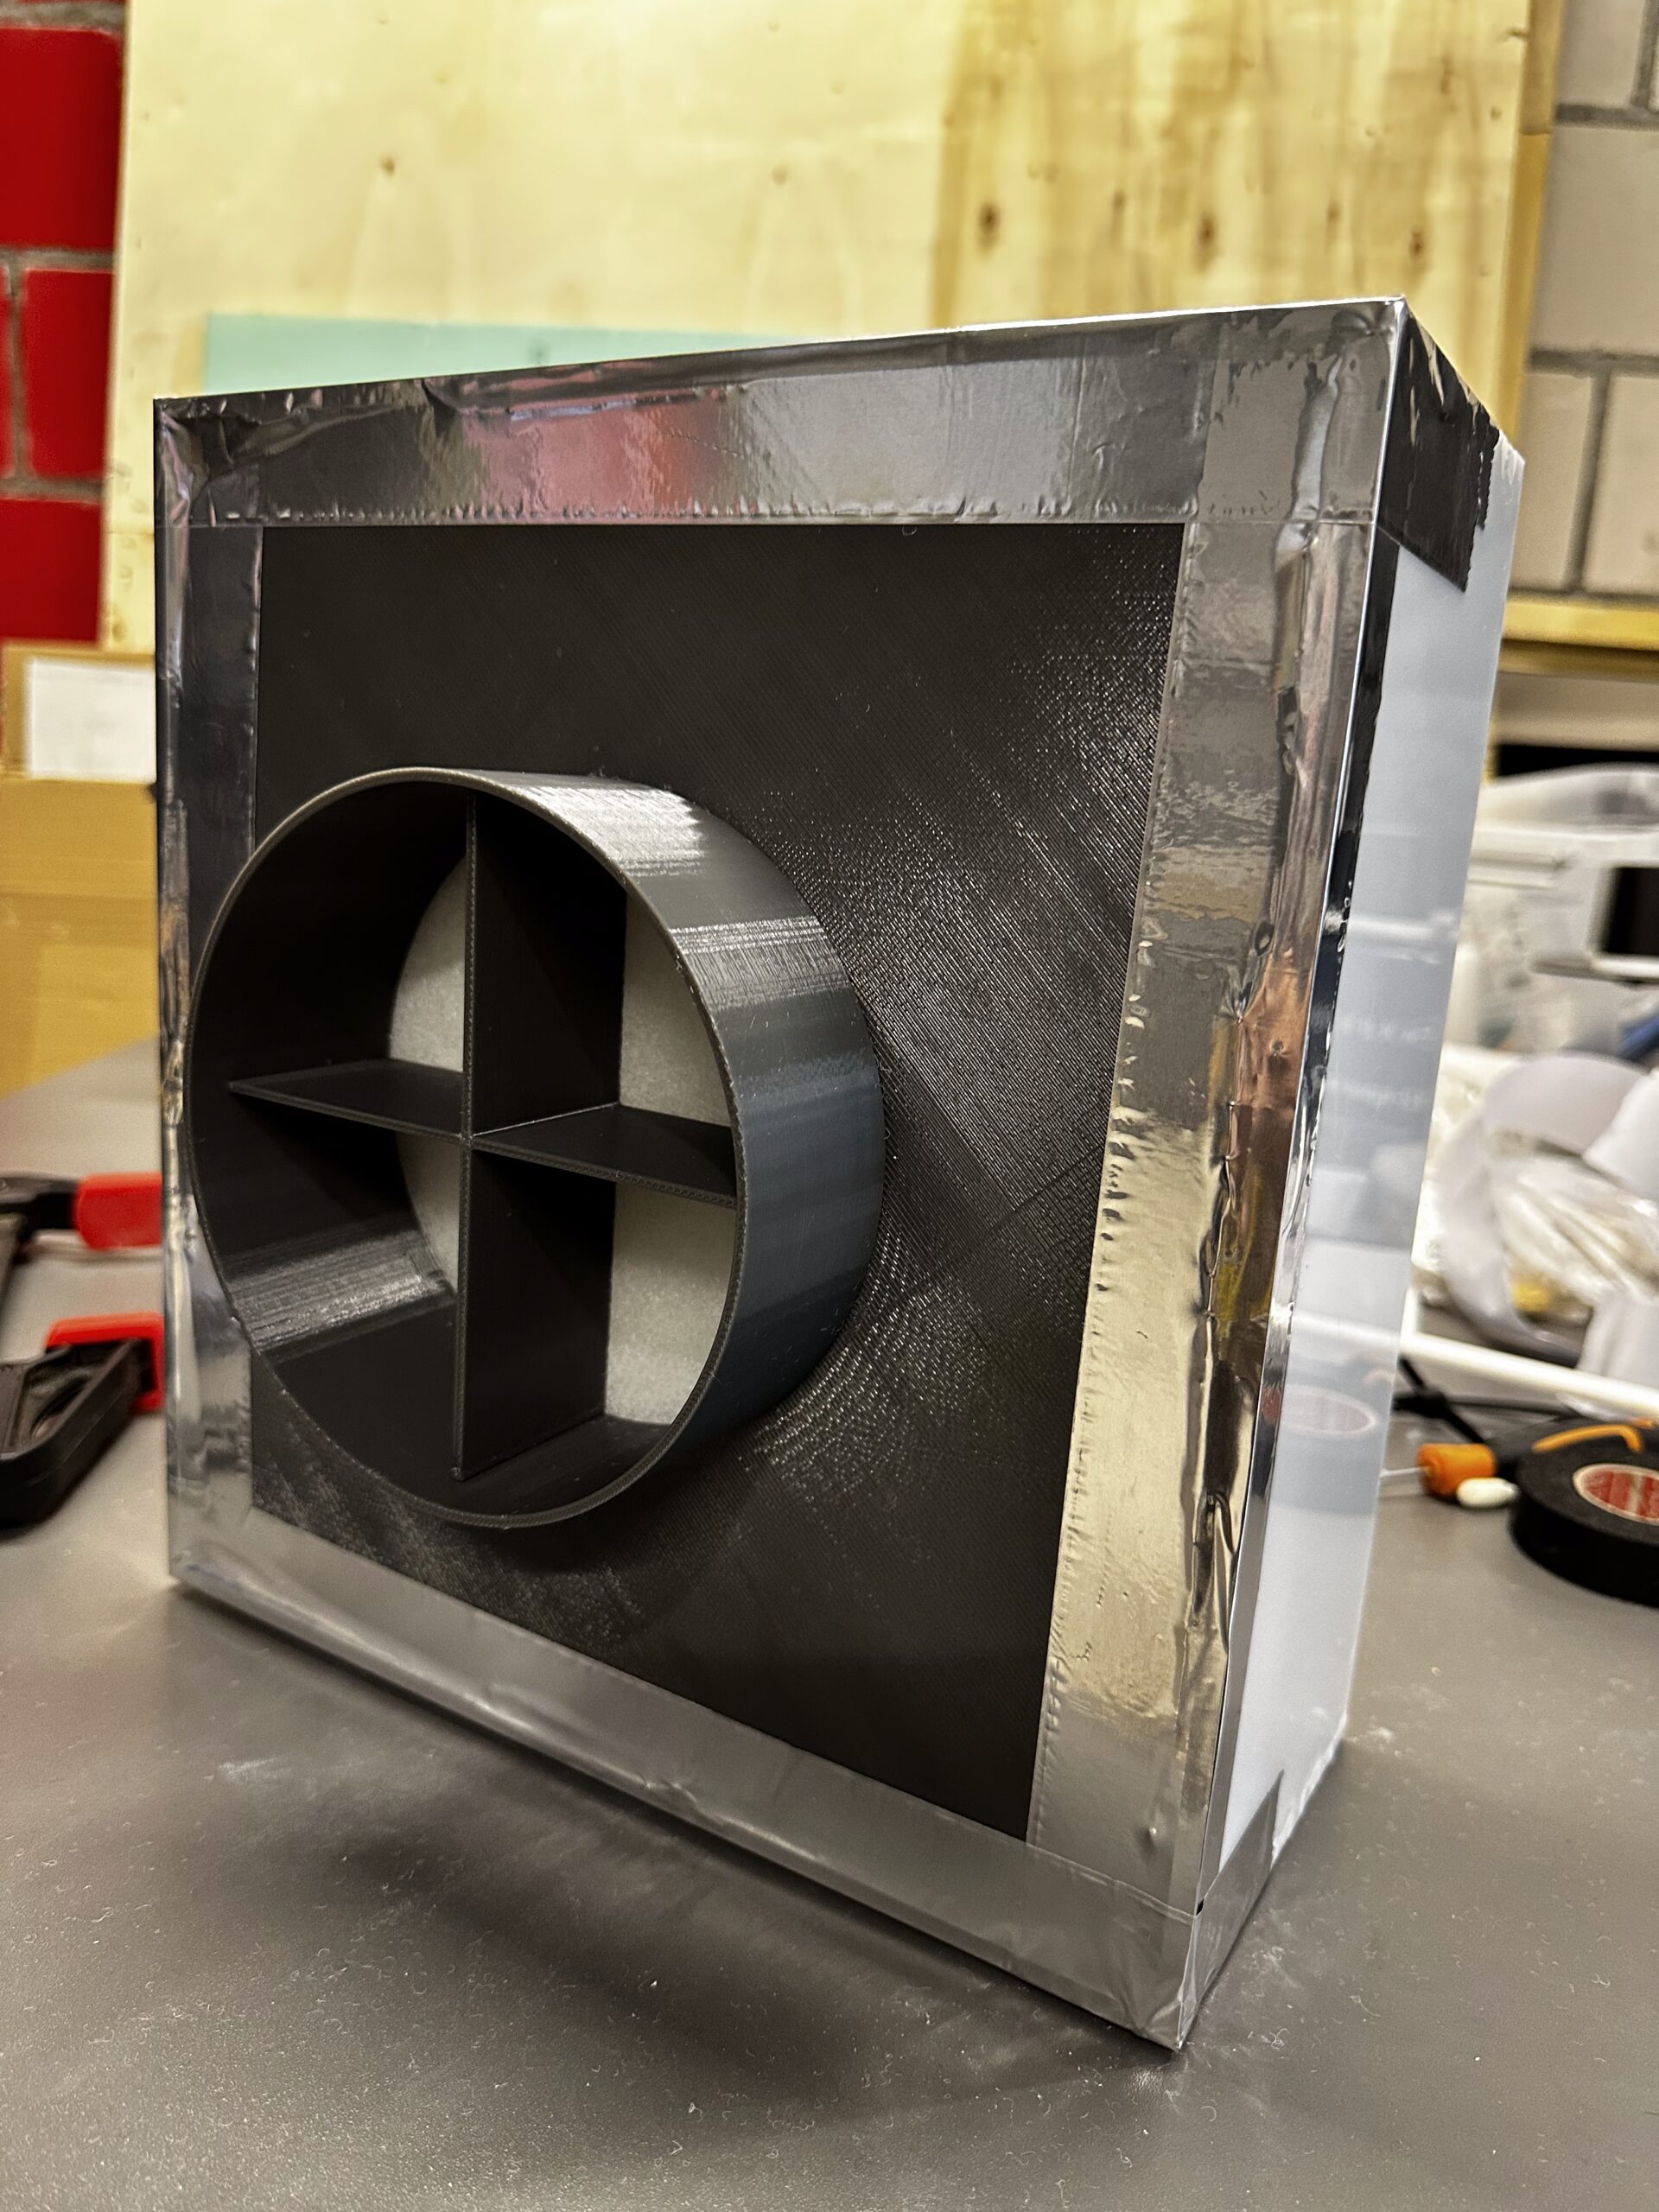
A PCB may work perfectly on a desk, but the finished device still won’t be ready for the user. A button might be too deep, a USB connector might not fit into the port, a cable might bend, and the enclosure might not accommodate the power module. That’s why a 3D-printed prototype of an electronics enclosure should be treated as a design phase rather than merely a product visualization.
A well-made prototype allows you to hold the device in your hand, install actual components, and test design decisions that even the best renderings can’t confirm. For a product developer, design agency, or brand developing its own device, this is a faster path to concrete answers and a lower risk of costly revisions after production begins.
Why Does the Case Determine How a Device Is Perceived?
Electronics provide functionality, but the housing shapes the user’s first impression. It determines whether the device is comfortable to use, looks reliable, and can be safely installed, transported, or presented to a customer. Even a slight change in the corner radius, the panel’s tilt angle, or the position of an LED affects how the entire product is perceived.
In B2B projects, the enclosure often serves a communicative function as well. A terminal, sensor, controller, IoT device, or display element should align with the brand’s identity and the conditions of the location where it will be used. A compact module mounted under a counter is designed differently than a device displayed at a trade show booth, and equipment intended for outdoor use is designed yet differently.
3D printing allows you to verify this context without investing in an injection mold. You can examine the part at actual scale, compare it to the interior, test the assembly, and revisit the design after one round of feedback. With a prototype, it’s not just the speed of production that matters. What matters is the ability to make informed design improvements before every mistake starts to incur costs.
Electronics Enclosure Prototype—What to Check
The greatest value of a prototype is the ability to test the actual fit. The model should be based on the current dimensions of the PCB, shields, batteries, wires, connectors, and mounting components. A difference of just a few millimeters can determine whether the cover will close properly or whether the plug will be accessible after the device is installed.
Installation, Tolerances, and Service
Inside the enclosure, you must provide for spacer posts, screw holes, mounting tabs, cable routing, and space for component movement. It’s a good idea to assess right away whether the PCB can be mounted without excessive bending, whether the connectors are properly accessible, and whether a service technician will be able to open the device without damaging any parts.
3D printing does not mean that every gap must have the exact same dimensions as in the CAD model. The material, print orientation, and part geometry all affect the final result. Therefore, mounting holes, slide-on covers, and snap-fit components require reasonably designed tolerances. A prototype allows you to verify these on a physical part rather than relying solely on assumptions.
If the device is to be opened repeatedly, it is worth considering thermally mounted threaded inserts instead of screwing screws directly into the plastic. If, on the other hand, the enclosure is intended for a one-time presentation of a concept, the priorities may be different: a clean, sculptural form, surface finish, and a clearly visible logo.
Ergonomics and Visual Communication
The actual device shows whether the aspect ratio is correct more quickly than the screen does. You can check the button placement with your thumb, the visibility of messages, access to ports, and the stability of the device when placed on a countertop. This is especially important for equipment used by customers, warehouse staff, technicians, or event attendees.
A prototype is also a useful tool for discussions with the team and investors. It’s easier to decide on the color, the case design, where to place branding, or how to integrate LED lighting when everyone is looking at the same physical model. In presentation projects, you can take it a step further and create an object that not only demonstrates functionality but also builds brand visibility in the space.
The material and technology should be chosen based on the purpose
There is no single material suitable for every enclosure. A different material will be suitable for quickly verifying the shape and component layout than for field testing, premium displays, or a model requiring resistance to elevated temperatures. The choice depends on the application, expected service life, component size, and surface quality.
Filament prints are well-suited to the needs of many functional prototypes. They allow for the efficient creation of larger enclosures, panels, handles, and mounting components. Proper parameter configuration provides control over wall thickness, infill density, and the strength of critical areas. However, you must take layer lines into account, especially when the surface will be viewed up close.
Where details, smoothness, or the precision of small components are important, resin-based technologies and castings may be the best choice. On the other hand, a housing intended for outdoor use requires an analysis of the material’s resistance to UV radiation, temperature, and moisture. The print itself does not guarantee watertightness or industrial-grade durability—these characteristics result from the overall design, material selection, seals, and assembly method.
From File to Finished Enclosure
A good process starts with a short, specific brief. We need 3D files or drawings, the dimensions of the electronics, information about the application, and a description of what the prototype is intended to test. Sometimes the goal will be PCB assembly, other times a presentation for a client, and still other times an assessment of the scale of a large device being installed in a space.
After analyzing the model, it’s important to identify potential risk areas: walls that are too thin, improperly designed supports, overhangs that are difficult to print, holes that are too small, or a part layout that makes assembly difficult. This is the time to make adjustments that don’t alter your vision but prepare it for actual production. For larger objects, it’s also important to plan the segments and the subsequent assembly of parts carefully.
Next, we select the technology, material, print parameters, and finishing method. At Janko Sculptures, we use open-source printers that we build ourselves and configure with precision, which gives us control over the scale of production and the quality of every stage. This allows us to tailor production to a specific brief, rather than forcing the project into the rigid constraints of a ready-made solution.
After printing, it’s time for post-processing, assembly testing, and a visual inspection. Depending on the needs, the part can remain a raw technical prototype or receive a finish suitable for presentation. The finished object is securely packaged and shipped within Poland or abroad, which simplifies collaboration among teams working in different locations.
Where 3D Printing Has Its Limits
Prototyping does not automatically replace mass production. For thousands of identical enclosures, injection molding may be more cost-effective, offer shorter lead times, and provide the repeatability typical of industrial-scale production. 3D printing, on the other hand, is particularly effective when the design is still evolving, the production run is short, the geometry is non-standard, or rapid validation is essential.
It’s also important to distinguish between a demonstration prototype and a product ready for certification. If the enclosure is intended to protect against water, dust, impacts, or high temperatures, appropriate testing and design specifications are necessary. A 3D-printed model can help plan these, but it should not claim specifications that have not been verified.
The best time to order a prototype is usually when the electronics have been sufficiently defined, but the enclosure design may still change. Bring the dimensions, a model, or even a sketch of your vision. A physical enclosure will quickly reveal which decisions are ready to be implemented and which ones are worth refining before they become part of the product your customers will see.