

A large mask for a campaign, a futuristic portal for a product launch, a set piece for a photo shoot, or an object set to appear on stage during a concert—each of these elements must function beyond just a visual rendering. 3D-printed stage props allow you to turn a bold idea into a physical form without limiting the design to off-the-shelf, mass-produced components. There’s just one condition: you have to treat them from the start as part of the stage production, not just as a striking sculpture.
A well-designed prop establishes the scale of an event, reinforces brand identity, and provides the camera with a clear focal point. On the other hand, a poorly designed prop may turn out to be too heavy, too fragile, difficult to assemble, or impractical to transport. That’s why technology is merely a tool here, and the success of the project depends on the decisions made before the printers are turned on.
When is 3D printing a good choice for theater?
3D printing is ideal when off-the-shelf solutions don’t meet the specifications. This applies primarily to non-standard shapes, sculptural details, three-dimensional letters, signs, set design elements, enlarged product models, and props that are repeatable yet visually distinctive.
Its advantage isn’t limited to the ability to create complex shapes. The design can be quickly adapted to the stage dimensions, display height, mounting points, or the viewer’s perspective. If the object is to be visible from several meters away, a clear silhouette and the interplay of light are usually the priority. When it is to appear in a film close-up, the surface, seams, and quality of the finish become more important.
The technology also allows for control over the production run. The same design can be produced as a single hero prop for an event, a set of decorations for several locations, or a suite of elements for brand activation throughout Poland. This does not mean that 3D printing will always be the cheapest option. For very large, simple surfaces, a different production process may be better. For objects requiring precision, customization, and complex geometry, 3D printing often shortens the path from concept to finished prop.
3D-printed stage props start with a brief
The biggest mistake occurs when a design is evaluated solely on a screen. A render won’t show whether an object will fit in an elevator, pass through the stage entrance, withstand repeated assembly, or whether a person on stage can move it safely. That’s why it’s important to define the prop’s function as early as the briefing stage.
Should it remain stationary for one evening, or move between events? Will participants be able to touch it? Are you planning to suspend it, use LED lighting, incorporate moving parts, or have it touch the stage floor? The answers to these questions will influence the design, material, wall thickness, model configuration, and finish.
In practice, you’ll also need specific details: target dimensions, the event date, the exhibition location, the anticipated installation method, and the brand’s visual materials. A hand-drawn sketch, a mood board, or a conceptual render will suffice as a starting point. You don’t need to prepare a technical model if you have a clear vision and know what effect the object is meant to have on the audience.
A scale is not just a number
A prop that’s two meters tall may look impressive in a photo, yet disappear on a large stage. On the other hand, a form that’s too massive will overwhelm a small retail space or hinder the crew’s work. It’s a good idea to compare the object’s size to a person, the camera frame, the stage height, and the distance to the audience.
Large prints are usually created from precisely prepared segments. The division should not be random. Seam lines can be hidden in the natural curves of the form, graphic details, or areas invisible to the viewer. This approach facilitates production and transportation without compromising the impact of the final result.
Weight, Stability, and Installation
Lightweight design is one of the practical advantages of well-designed printed materials. However, the goal is not to minimize the structure’s weight at all costs. A prop placed in a walkway, near participants, or on a raised platform requires a stable base and a properly calculated center of gravity.
Sometimes the best solution is a hidden frame, a weighted base, or a mounting system designed for a specific scene. If the structure is to be suspended, the mounting points must be included in the structural design, not added only after the plans have been printed. This detail is invisible to the audience but crucial for safe installation.
From a digital format to a surface ready for light
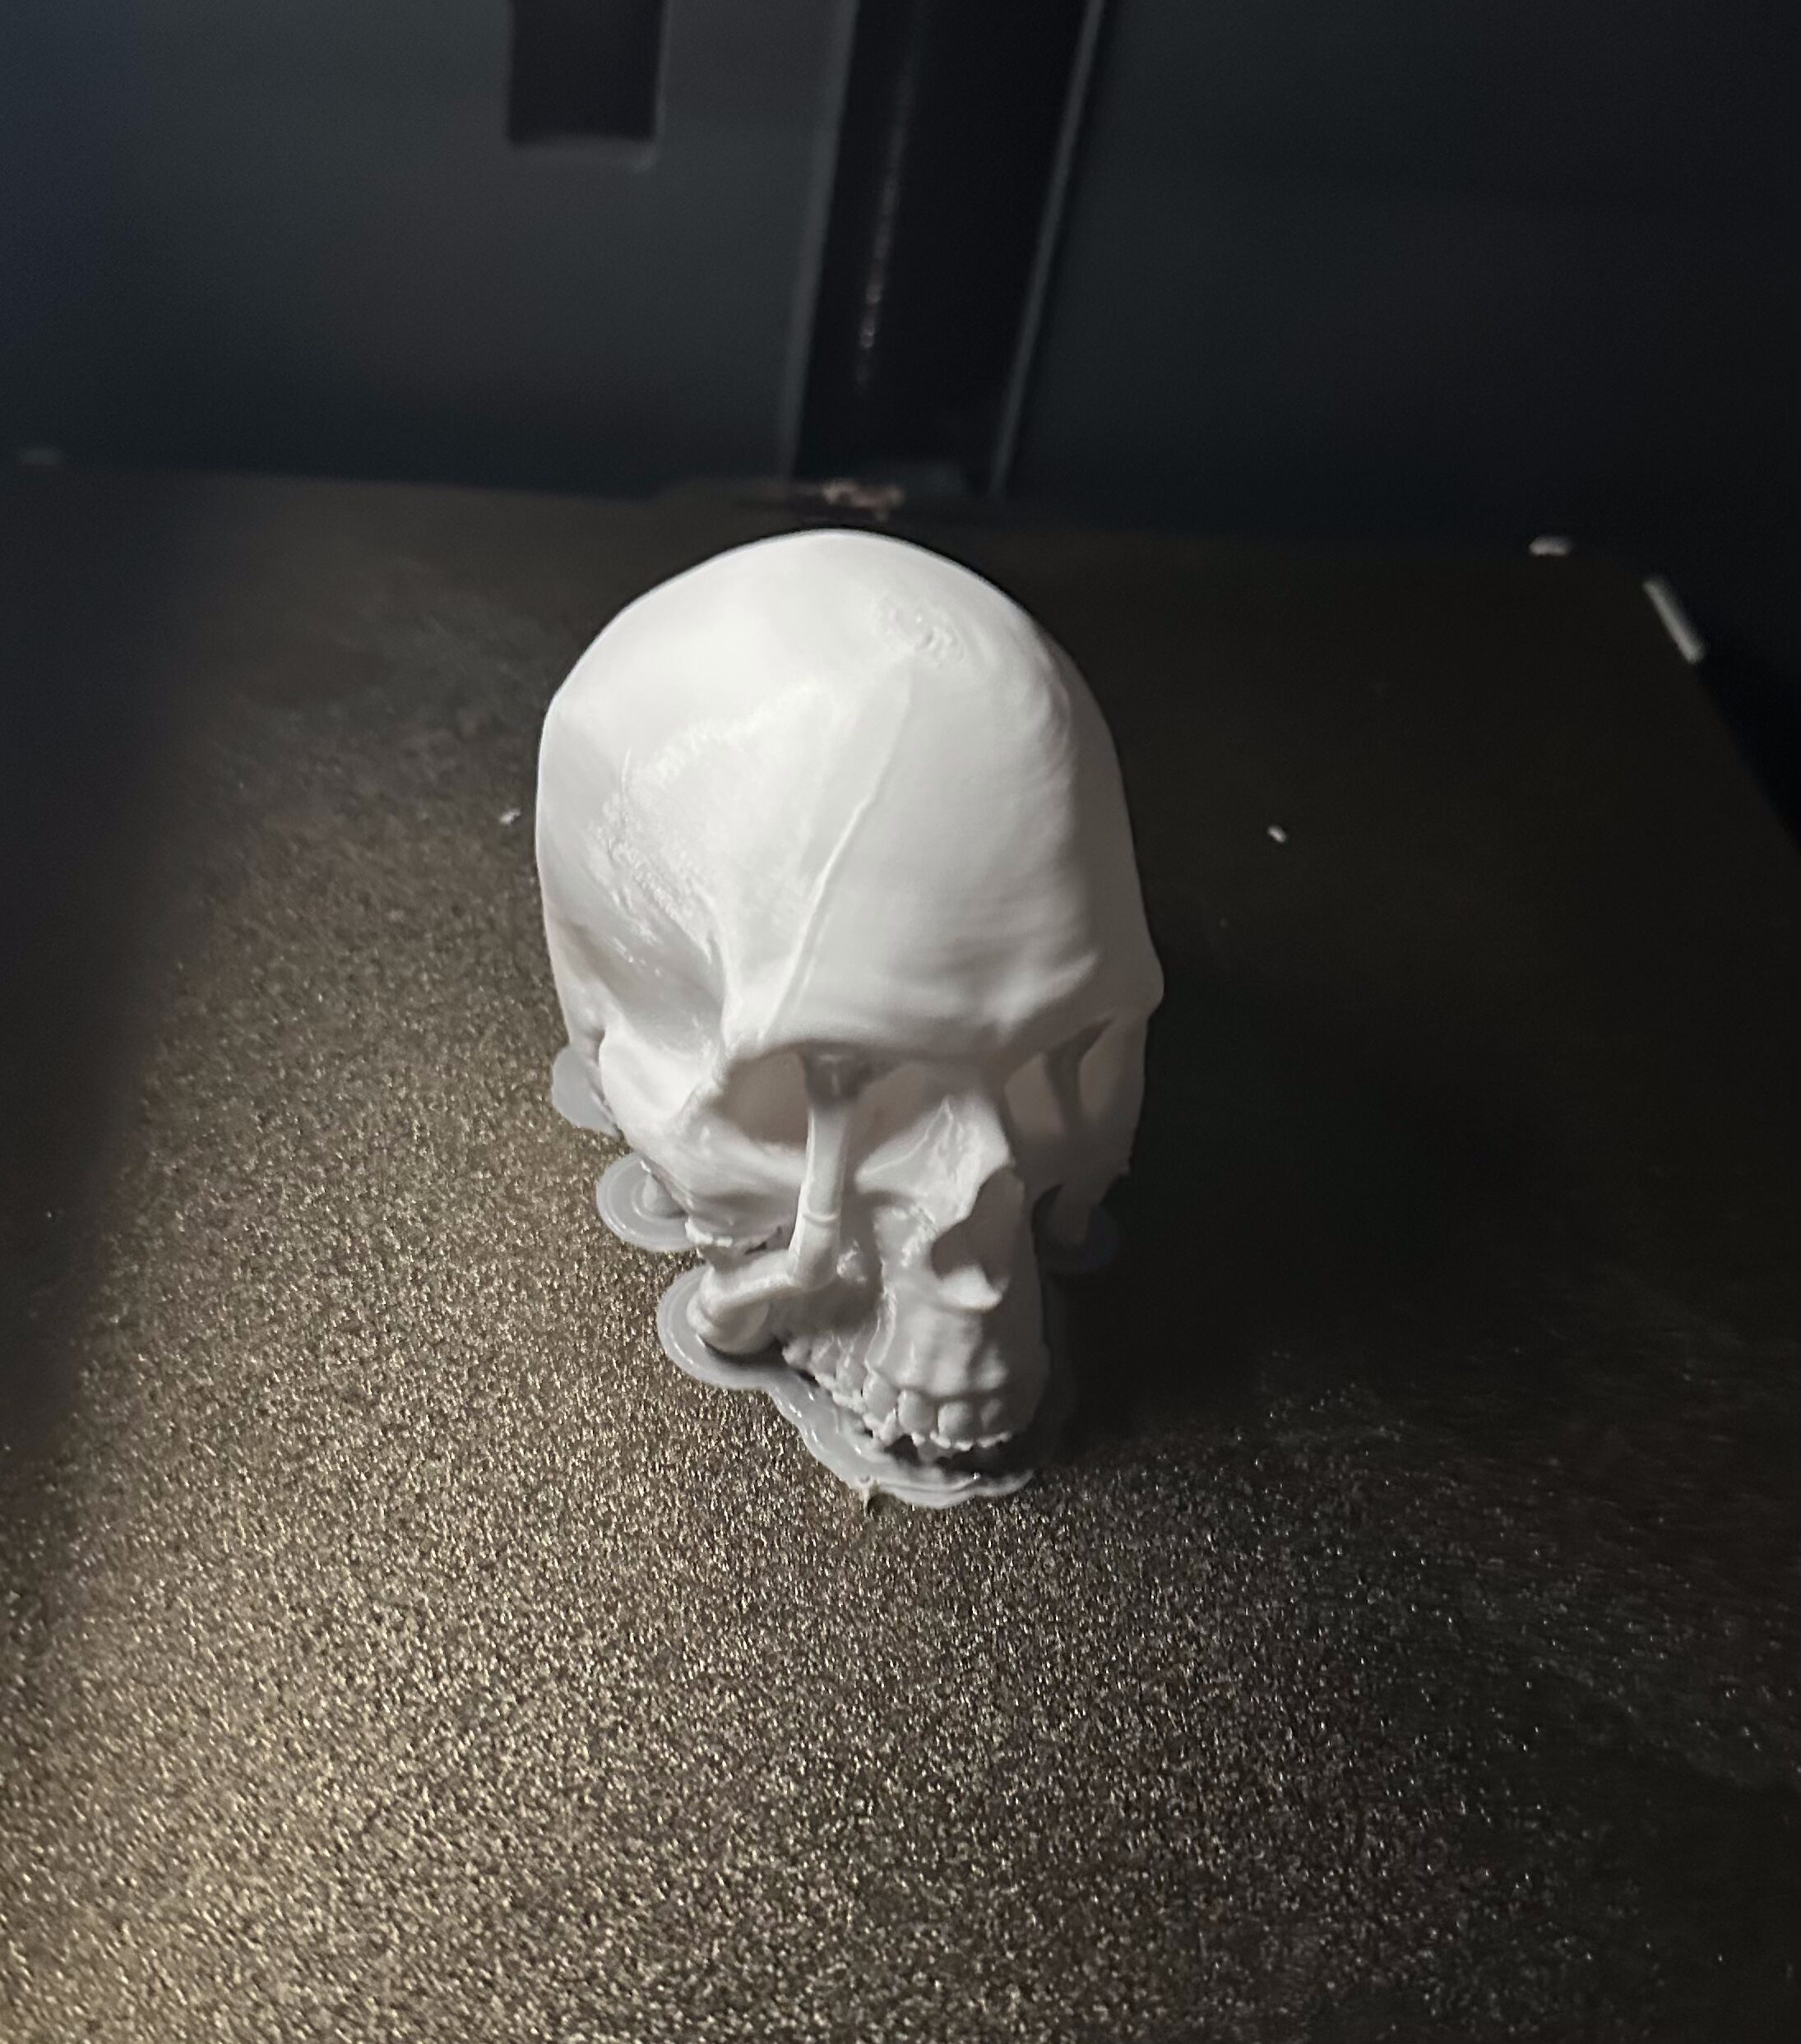
The print itself is a stage in the production process, not the end of the work. Depending on the concept, the surface may remain raw and industrial, or it may be prepared for painting, varnishing, or other finishing methods. It is the finish that determines whether the object will be perceived as a prototype, a sculpture, a fragment of futuristic set design, or a refined element of a premium campaign.
It’s important to clearly define expectations regarding the details. Visible layers of printing can be a deliberate aesthetic choice, especially in projects with an industrial feel. However, if the prop will appear in a close-up shot or is intended to mimic a smooth, cast surface, it will require additional finishing. The scope of work affects the budget and schedule, so it should not be decided at the last minute.
Light also changes how forms are perceived. An illuminated logo, letters, or an element with transparent sections can have a much stronger impact on stage than the same object illuminated solely from the outside. However, it is necessary to plan for cable routing, service access, and the temperature and intensity of the light sources. With LED installations, it’s not just the effect after dark that matters, but also the quality visible in daylight and on video recordings.
How to Plan a Schedule Without Last-Minute Changes
It’s a good idea to break down the production of a prop into four clear stages: concept, cost estimate, production, and shipping. In the first stage, the purpose and specifications of the prop are determined. Next, it is possible to accurately assess the scope of work, materials, finish, deadline, and logistics. A customized quote is important here, because two props of similar size may require completely different amounts of work.
During the production phase, it is crucial to inspect the model before manufacturing. This is the time to verify the dimensions, colors, part divisions, and mounting points. Making changes to a digital file is much easier than correcting a finished, painted object. For campaigns with tight deadlines, it’s a good idea to allow time for a test assembly, finishing, and packaging.
Transportation is not just an afterthought in a project. Large-format props require protective packaging tailored to their shape, delicate details, and route. Sometimes it’s more cost-effective to break the set down into modules that are assembled on site; other times, it’s better to ship a single, complete structure that’s ready for installation. It’s best to make this decision at the same time as choosing the structure, especially for international shipping.
What distinguishes a flashy prop from an object that actually works?
The best projects combine creative vision with the constraints of the actual space. Props need to look good on camera, but they also need to be easy to set up, move, install, and pack away safely after the event. That’s why production experience is just as important as the design itself.
At Janko Sculptures, we work with printers that we build ourselves and configure with precision, which gives us control over the scale and production parameters. This allows us to transform your visions into three-dimensional objects tailored to a specific exhibition scenario, rather than having to adapt your idea to the arbitrary limitations of a off-the-shelf product.
If you have a concept for the stage, start by describing the situation in which the prop will be used: who will see it, from what distance, how long it will be used, and where it will end up afterward. Having a few specific details from the start allows you to design an object that will not only catch the eye but also easily pass the assembly test and survive the day of the event.